Showing posts with label vegetarian. Show all posts

11.18.2010

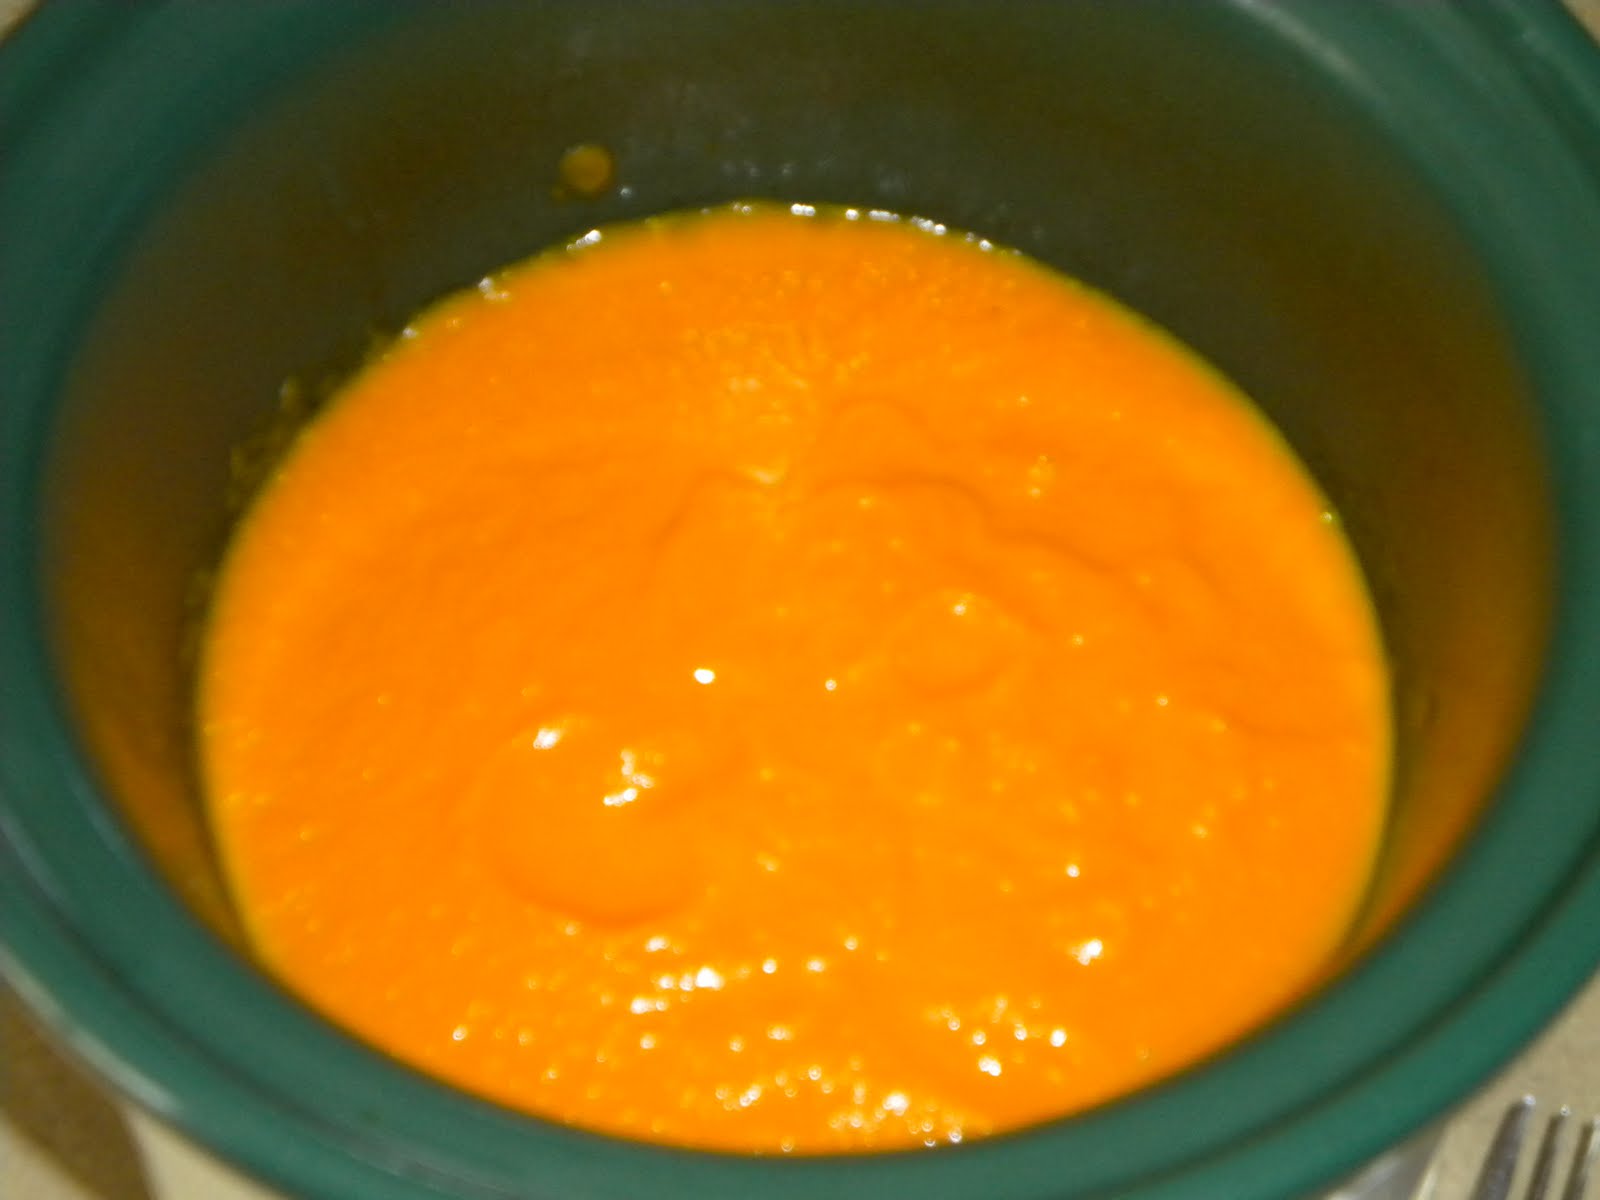
Moroccan Carrot Soup


Once again, another delicious soup recipe from my oldest sister.
(That pumpkin one was hers too)
Ingredients:

2 T butter
1 cup chopped white onion
1 pound large carrots, peeled, cut into 1 inch chunks
2 1/2 cups veggie or chicken broth
1 1/2 t ground cumin
1 T honey
1 t lemon juice
1/8 t ground allspice
1/2 cup plain yogurt or milk


Directions:
Saute onion in butter or oil until translucent. Mix in carrots and broth and bring to boil. Simmer until carrots are very tender, about 20 minutes. Remove soup from heat and puree in blender until smooth. Return to pan and whisk in honey, lemon juice, allspice, cumin, and yogurt or milk. Sean with salt and pepper to taste. Can serve over rice.

Crock Pot Version: Saute onion in butter over stove. When translucent, transfer to crock pot with carrots and broth and leave on low for 5-6 hours or on high 3-4 hours. When ready puree in blender and return to crock pot to add honey, lemon juice, allspice, cumin and yogurt/milk. Season with salt and pepper and serve!
I served it with bread from our breadmaker this time... YUM!

Number Of Servings:4 lg servings (155 cals/bowl) or 6 small ones

Once again.. Orange soup is really hard to make appealing- looking in pictures... but trust me... Its delicious!

Photobucket

10.12.2010

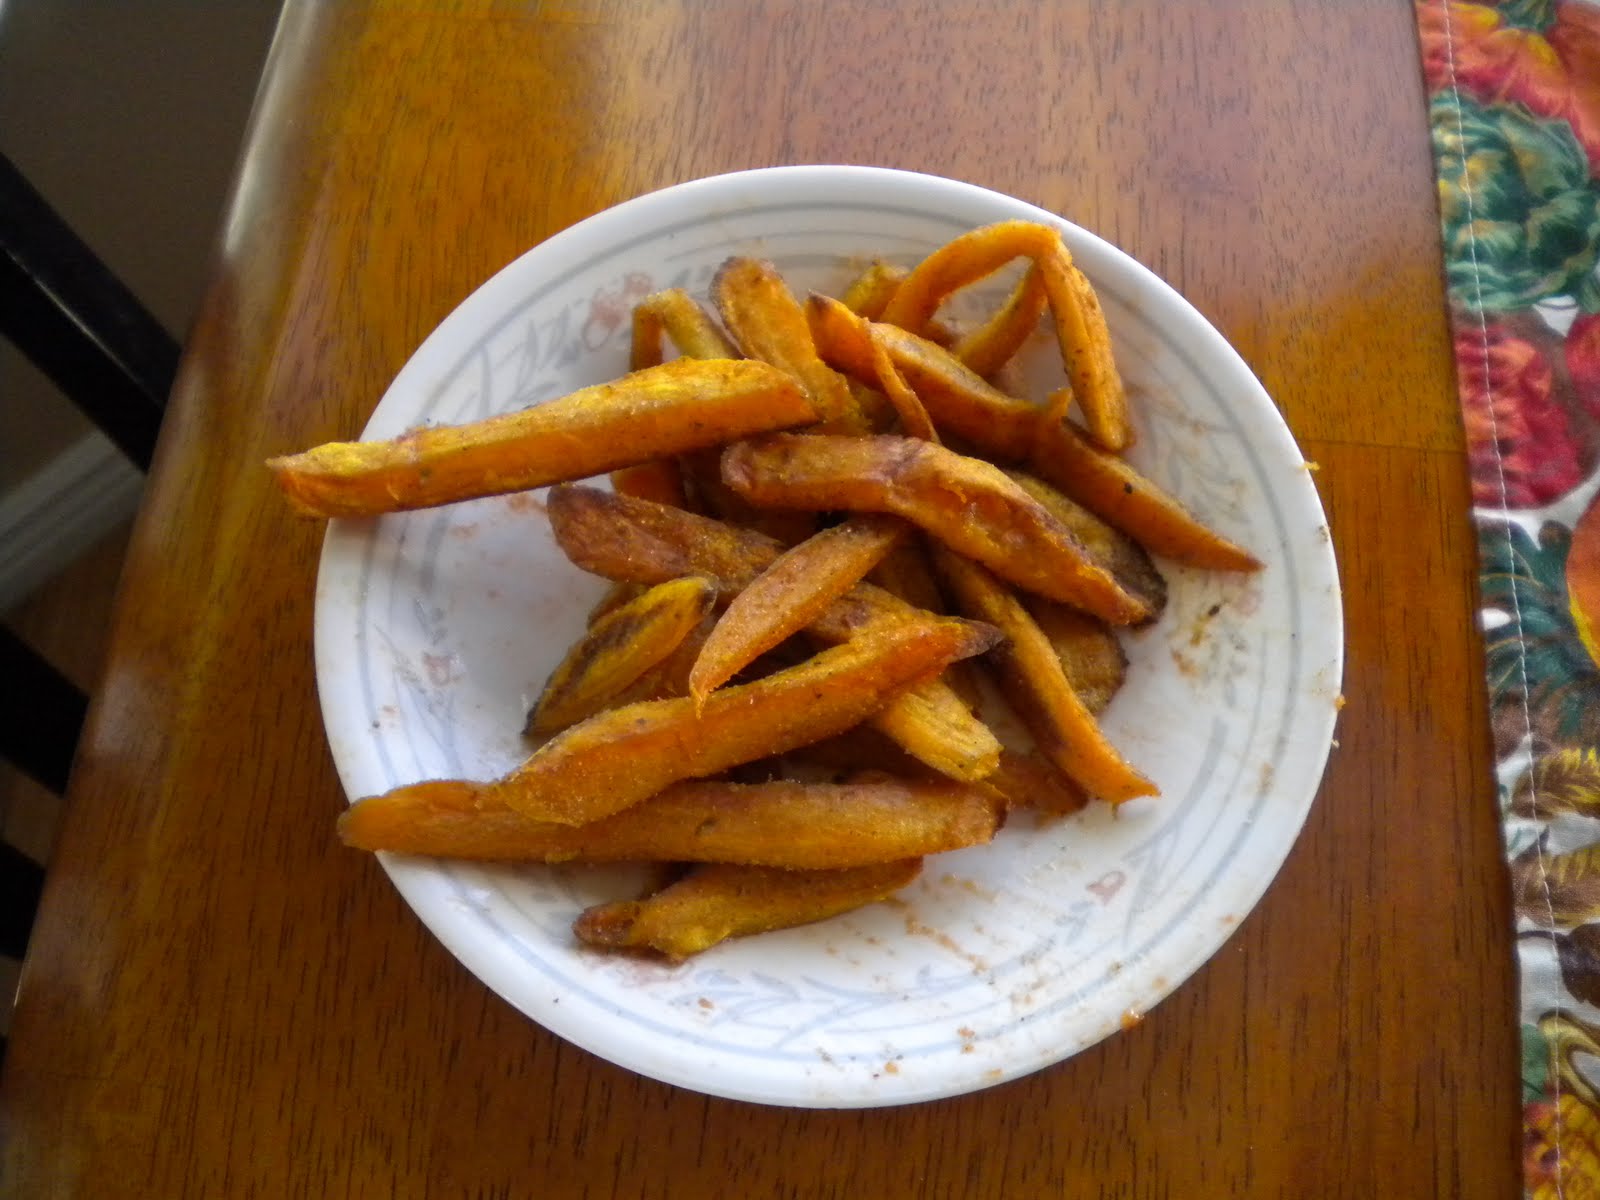
Sweet Potato Fries

I have been ordering from Bountiful Baskets and I am loving all the produce we have gotten. A few weeks ago, we got some sweet potatoes and I was sooo excited! I have quite a few yummy recipes that I love, but I decided to make some sweet potato fries at my husband's request.

Here's the seasoning mix I chose to use:

2 tsp. Seasoned salt
1 tsp. tsp. paprika
1/2 tsp. chili powder
1/4 tsp. parsely
1/4 tsp. garlic powder

Peel your sweet potatoes and then cut them up until they are about 1/4 inch thick and 3 inches long (or however long your sweet potato is!)
Put the sweet potatoes in a plastic bag with 2 Tbsp. olive oil and shake until the potatoes are well coated. Add the seasoning mix to the plastic bag and SHAKE SHAKE SHAKE until they are well coated and the seasoning is evenly distributed. One suggestion I found online was to use 2 tsp. of the spice mixture for every 2 sweet potatoes depending on how spicy you like it.
Bake at 425 for 40 minutes turning once halfway. Once they come out of the oven, top them with more seasoned salt. Serve immediately... They were so yummy and perfect to eat watching a BYU football game... Enjoy!

Photobucket

9.16.2010

Makin' Salsa

Ever since I was a teenager, I have been making salsa every single summer. My parents grew a huge garden every year (which I hated at the time... but now I very much envy) and they would grow tomatoes and peppers with which to make salsa. The summer that I was the only child left at home, my parents and I had a system. My dad would wake up first and pick the tomatoes and peppers and grill them. He would put everything into bowls and leave in the refrigerator for me. When I woke up (hours later...) it was my job to skin all the peppers and tomatoes, chop everything up (onions, cilantro, peppers, tomatoes, and garlic) and add the other ingredients and mix it and leave it ready for my mother who would then can and process the jars to seal them.

Unfortunately, now that I'm an adult, I have to do all the steps of this salsa making by myself, with occasional help from my husband when he is home to help!

Therefore... I have eliminated the grilling from the recipe. I don't think it adds very much to the overall flavor and it takes SOOO much time.


My sister told me that she just blanches her tomatoes... which I have to admit, I had no idea what it meant to "blanch" something.

So.. here's my recipe for Salsa (and instructions for blanching tomatoes)

Ingredients:

25 medium tomatoes
3 yellow peppers
5 green bell peppers
6-9 jalapenos
(without seeds... the more seeds you leave in, the hotter the salsa will be)
1 bunch cilantro
(I put in 2 bunches because I like a lot of cilantro flavor)
3-4 cloves garlic
2-3 onions
1/2 cup apple cider vinegar
1/4 cup salt
To blanch my tomatoes, I use my sink. I tied a string (or ribbon) to my drain plug and then filled the sink with my tomatoes. Boil a large pot of water.
Pour your boiling water over the tomatoes and let sit for about 4-5 minutes. Then pull the string to release the water. I have to admit that I had a little trouble with all of my tomatoes blanching. The skins should start to peel and roll, but if they don't do that, they will usually peel right off if you just use a little knife to cut the skin open. Even if they don't look like they have blanched properly, they probably have and you just need to help them get started.

I don't find the skins of the peppers to be a problem, but the skins of the tomatoes really bother me in my salsa, so I make sure I get all of them off.

Chop all your ingredients to the size and texture you like for salsa. I like mine chopped really small so I use my little mini-food-chopper. Thankfully, I have help in operating it so that I can keep chopping other peppers while he is chopping in the machine...

And then we have to clap and celebrate each time he does such a good job chopping the onions and peppers for me. Mix all ingredients together. This can be eaten fresh (and is soooo very tasty) or it can be canned and processed like I love to do. I usually make either 5-6 quart jars or 10-12 pints.

I use my hot water bath to seal the jars, processing quarts for 45 minutes and pints for 35 minutes.

TIP: Make sure when you are handling the jalapeno peppers that you wear gloves. I use those yellow bathroom type of gloves and I have them specially labeled and with my canning supplies. The juices from the jalapeno peppers can burn your hands and your hands will be burning for hours and hours... Just trust me... I've done it and its not fun!

Happy Salsa Making!

Photobucket

6.05.2010

Garlic Oven Baked Fries

I have had this recipe bookmarked for so many months and finally got around to trying it... It was so worth it and you are going to want to try these! I absolutely love potato wedges and these were oh so good!

Ingredients:

8 garlic cloves, minced
6 tbsp extra virgin olive oil
3 russet potatoes (about 8oz each), each cut into 12 wedges
3 tbsp cornstarch/cornflour
1 1/2 tsp coarse sea salt
1 1/2 tsp freshly ground black pepper
½ tsp garlic powder
1/4 tsp cayenne pepper

First wash and cut the potatoes up into wedges. Preheat your oven to 450.

In a pan, heat the olive oil and garlic on a very low heat- Just to infuse the oil with the garlic. Then, using a sieve, separate your garlic and oil. Put garlic over the potatoes with 1 Tbsp of the oil and stir. YUM!
Put oil onto a baking sheet:
Cover your bowl of potatoes with plastic wrap and microwave them for 4-5 minutes.

In the meantime, mix the cornstarch, salt, pepper and cayenne

Be careful when they come out of the microwave... they are HOT! Sprinkle the seasonings over the potatoes and stir gently. Then transfer to the baking sheet and pop them in the oven. Bake for 15 minutes on one side and then turn them over and bake for another 15 minutes.
Photobucket

10.29.2009

Bacon and Potato Frittata

This is one of those recipes I got from Feast for the Eyes and I was very surprised at how much the hubby and the baby loved this! This is kind of a quiche... but with potatoes, so I felt like it had a lot more substance.

Peel 1 large russet potato and slice it fairly thin. Microwave the potatoes in a little bit of water for about 5 minutes and then drain and set aside. Chop and cook the bacon in a skillet and then mince 1/2 an onion. Push the bacon aside and carmelize the onion and chopped green pepper until lightly brown. Using a slotted spoon, remove the bacon, peppers, and onion and leave just a small amount of bacon fat in the skillet.

Layer the potatoes in the pan, season with salt and pepper and then spread the bacon and onion and green peppers over top. I forgot to add the tomatoes at this point, but it would have been great to have been added here.

Grate some cheese over the top, whatever cheese you have- I just used cheddar. Whisk 6 eggs with a little milk and pour on top. Let this cook for about 5-8 minutes on medium heat. Feast for the Eyes does hers in a cast iron skillet and transfers it to the oven to broil for the last bit, but I just did it in a regular skillet and so I actually cooked mine for about 10 minutes, just until you think the eggs are done since everything else is already cooked.

This was delicious! It transfers easily out of the pan and then you can slice it in to pie slices to serve. Delish! Pay no attention to how mine looks at the end, because our home teachers came over WAY earlier than expected and I kind of burned the bottom... Whoops!

Photobucket

10.19.2009

Spaghetti with Artichoke Hearts and Tomatoes

This is a recipe I got from Pioneer Woman Cooks and it is so delicious! We loved this. I am so glad that Josh is not the type of guy that HAS to have meat at every meal, because we couldn't enjoy the yumminess of meals like this... This was so good, but I could see most kids not liking it.. I wouldn't have liked it as a kid, I can tell you that!

Spaghetti with Artichoke Hearts and Tomatoes

2 Tbsp olive oil
2 Tbsp butter
3 cloves garlic, minced
1/2 medium onion, finely diced
1 14.5 oz. can quartered artichoke hearts, drained
1 14.5 oz can diced tomatoes with juice (I used petite diced...I like them small!)
1 cup heavy cream
1/2 cup chicken broth, more as needed
1/2 tsp nutmeg
salt and pepper to taste
1 pound thin spaghetti
1 cup freshly grated Parmesan chese
2 Tbsp chopped olives or other herbs (I didn't use anything here!)

Cook spaghetti til al dente. Drain and set aside. While pasta is cooking, melt olive oil and butter in large skillet over medium heat. Add onions and garlic and saute for 2-3 minutes. Add artichoke hearts and tomatoes. Stir and cook for 8-10 minutes. Reduce heat to low. Stir in cream and chicken broth. Add salt and pepper to taste (don't UNDERsalt!!) Cook over low heat until heated through, then turn off heat. (My sauce was a little too runny- maybe leave it to boil down a little longer) Place drained pasta in a large bowl and sprinkle with Parmesan cheese. Pour sauce over top. Add chopped olives or other herbs. Toss lightly to combine and coat. Delicious!

DISCLAIMER!: I realize this isn't a TRUE vegetarian meal since it uses chicken broth, but it is meatless and it was delicious! Enjoy!

Photobucket

10.18.2009

Classic Cheese Stuffed Manicotti

This is a recipe I got off Tried and True Cooking with Heidi and we really like it. Super simple and I had all the ingredients on hand!

CLASSIC CHEESE STUFFED MANICOTTI

1 package manicotti noodles (14 pieces)
1 3/4 cups (15 oz container) ricotta cheese (I used cottage cheese... its all I had!)
2 cups shredded mozzarella cheese
1/4 cup grated Parmesan cheese
2 TBSP chopped fresh parsley
1/2 tsp salt
1/4 tsp pepper
3 cups (28 oz jar) spaghetti sauce
extra mozzarella and Parmesan cheese for topping (optional)

Cook pasta according to package directions; drain. Cool in single layer on foil. Heat oven to 350.

In large bowl, stir together cheeses, parsley, salt and pepper; Spread thin layer of sauce on bottom of 13x9 inch baking dish; spoon the cheese mixture into cooled pasta tubes
It is really hard not to split these when you're stuffing them. Here are my tricks. First off, just wash your hands and use your hands to stuff. Trust me, using a spoon to stuff them just doesn't work. If you do rip the manicotti, just place the torn edge face down in the dish.
Arrange filled pasta in single layer over sauce. Pour remaining sauce over pasta; cover with foil. Bake 40 minutes. Remove foil; top with extra cheese if desired and bake 15 minutes or until hot and bubbly.Serve with a yummy vegetable like squash... Yum! Enjoy!
Photobucket

9.19.2009

Spinach and Cheese Stuffed Pizza

This is another one of those recipes I got from my sister. Most of my yummiest recipes come from siblings... They are just great cooks! I think this recipe is pretty fool-proof! You can put just about anything you want inside and it will be so yummy! Josh and I were both saying, "Mmm"... as we ate last night!

I used the recipe for a pizza crust from my Better Homes and Gardens Cookbook and since it said that it would make 2 thin crust pizzas I figured it would be perfect... and it was!

Dough Ingredients:
2 3/4 to 3 1/4 cups flour (I meant to use 50/50 white/wheat... but I forgot!
1 package active dry yeast (which is equivalent to about 2 1/4 tsp)
1 cup warm water
1/4 tsp. salt
2 Tbsp. cooking oil

DIRECTIONS: In a large mixing bowl, combine 1 1/4 cups of flour, the yeast and 1/4 tsp. salt; add warm water and oil. Beat with an electric mixer on low speed for 30 seconds, scraping bowl. Beat on high speed for 3 minutes. Using a wooden spoon, stir in as much of the remaining flour as you can. Turn dough out onto a slightly floured surface and knead in enough remaining flour to make a moderately stiff dough that is smooth and elastic (I used almost, but not quite 3 cups total). Divide dough into 2 balls, one slightly larger than the other. Cover and let rise for 10 minutes.
After the 10 minutes, roll out the larger ball onto your baking stone and cook for about 10 minutes in a 400 oven. Don't fully cook the crust, but just get it so its mostly cooked. I had to keep popping bubbles... so keep an eye on it! Pull it out of the oven and brush with oil and some seasonings (I used Italian seasoning, pizza seasoning, and basil.. I think some garlic would also be yummy, but I didn't use it!)Alright... Now for the filling. This really is one of those things that you can put in it whatever you want. I think some sauteed peppers would be delish (but Josh isn't a fan)... Mushrooms, onions, tomatoes... whatever you want!!This is what I did: Spread cottage cheese over crust (try to avoid as much of the "Juices" of the cottage cheese if you can... they just run out of the crust when its cooking..). Cover with chopped spinach (you can use fresh or frozen, just make sure that your frozen is pretty dry). I had my cooked frozen chicken, so I added that too, but this is usually made completely meatless... so if you don't have chicken, don't stress! Cover with cheeses... whatever cheeses you have. I had Parmesan, mozzarella, pepper jack and cheddar cheese and it was delish!
Roll out 2nd ball of dough into a thin crust (I find that it is easiest to brush my counter with a little bit of oil and roll my dough out onto that instead of a floured surface... I think it lifts up better!) Then place 2nd crust over the top and try to completely cover the toppings. I had to really stretch mine... and my pizza leaked all over.
Bake at 400 for 10-15 minutes, depending on your oven. I found that mine took closer to 15-18 minutes. Just watch it until it is starting to brown on top and feels like the crust is done.We loved this last night and I've decided to make it a more usual part of my dinner rotation. It is SO yummy! I know you're going to love it. My sister has 5 kids who all LOVE this, even though it has the spinach in it. So good! Try it... I know you'll love it!
Photobucket

7.31.2009

Black Bean Burgers


Now... before you get judgmental... you have to try this before you make any assumptions as to what this is. My sister and her family eat most of their meals vegetarian. While I was visiting, she tried this recipe and it was actually quite good. It doesn't taste like a big juicy hamburger, so you can't expect it to... but it has really yummy taste... So this recipe (and pictures) is stolen 100% from my sister's blog:

Here's what you need:

1 16 oz. can black beans, drained and rinsed
1/2 green bell pepper, cut into 2 inch pieces (once again.. I used my red, orange and yellow!)
1/2 onion, cut into wedges
3 cloves garlic, peeled (I used minced garlic from my fridge)
1 egg
1 T chili powder
1 T cumin
1 tsp Thai chili sauce or hot sauce
1/2 cup bread crumbs

Preheat oven to 375*. Lightly oil a baking sheet. If you want to actually grill these, preheat your grill for high heat and lightly oil a sheet of aluminum foil.

In a bowl, mash beans until thick and pasty.In a food processor, finely chop bell pepper, onion, and garlic. Then stir into the beans.

In a small bowl, stir together egg, chili powder, cumin, and chili sauce.Stir the egg mixture into the beans. Mix in bread crumbs until the mixture is sticky and holds together. (add more bread crumbs if it just isn't holding together well. You want it to be about like a meatloaf mixture. I could just barely get mine to form patties and they cooked up great. Divide into four patties.If grilling, place on foil and grill about 8 min each side. If baking, place on baking sheet and bake about 10 min each side and then broil for 2-3 minutes/side.
Try them out! You might be surprised how yummy they are! Josh even gave them the thumbs up when I made them for him last night!

Photobucket
 
Blog Design By: Simply Yours Designs